Second Coat of Varnish

1 Comment

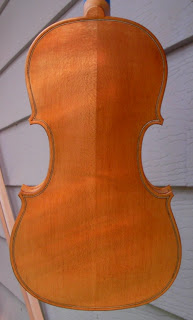
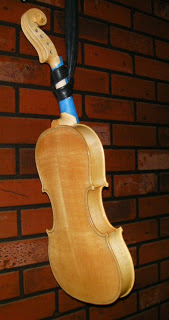
Varnishing is proceeding on schedule with the second coat on and dry. The proof –

Nice shape, eh? I am really happy with the back, even though it has no flames. The grain is really popping!

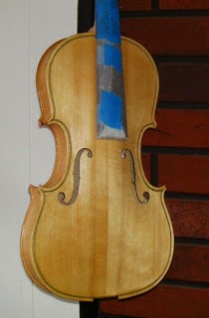
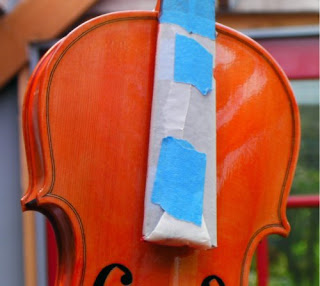
The front –

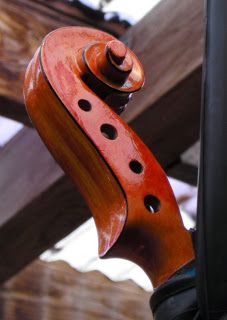
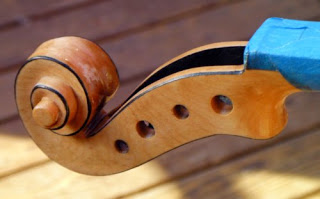
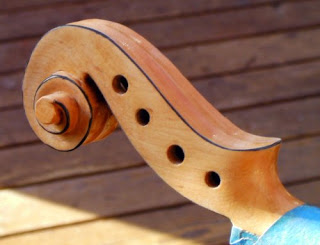
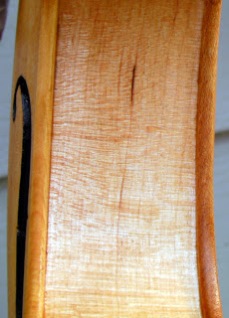
Because it’s now so shiny, it’s hard to get good pictures of the whole fiddle. The scroll –

The finish isn’t really as textured as this picture seems to suggest, but it’s not smooth like a sprayed finish either. A few more coats will even out the color (fingers crossed) and it will all come together and as the varnish shrinks over the years, it should look better and better.

I arsed up the third coat of varnish on the belly and had to rub it off. I knew going in that it wasn’t a good day to varnish – I just wasn’t feeling it – but pushed on anyway and paid for it with an added delay. Nothing is un-fixable, but it is frustrating. Sometimes the hardest part of making/-building anything (for me) is knowing when to walk away.
First Coat of Varnish

Leave a comment

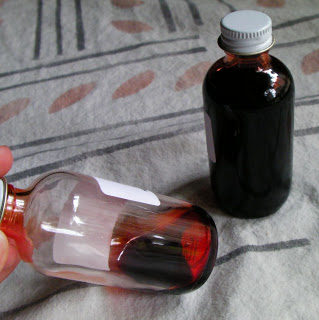
Weather and work schedule have finally favorably aligned and the Red Fiddle is getting some color. The varnish is color 1010R from International Violin. The bottles when full look brown, which seems logical, to protect the color, right? Nope. Turns out the bottles are clear and the varnish is the color of cough syrup –

There was a major OMG moment as the brush moved over the ribs and left behind a horrible, sick, bright and awful pink. My heart just sank, I can tell you. Never has a color been so very, very wrong for violin varnish. Holding my breath and telling myself that the folks at International Violin know what they are doing and that if I just stay the course all will be well, I hung her up on the sunny porch and walked away. It was just all wrong and I was not hopeful.

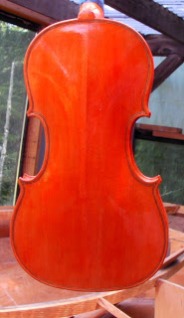
After a couple of hours alone on the porch, something miraculous had happened. Behold the first coat of varnish on the back –

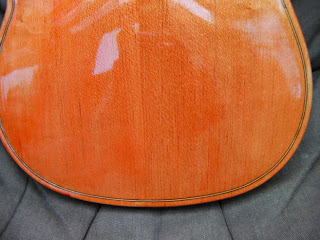
Not pink! Not bad, but not really red, either. The color isn’t quite right on my monitor, a bit more orange than IRL, but it’s very nice. The front –

The spruce top is not taking the color as evenly as the back, but it’s an interesting look. No idea what’s going on, but it’s only the first coat. Still, look at the texture! I am really happy overall with how things are progressing and anticipate it getting even better.

Outlining the Scroll

1 Comment

Here is the scroll of the Red Fiddle, the edges outlined with black paint –

The paint was applied with a very small brush and I found that using it sideways along the chamfer of the scroll was the easiest method for getting a clean line.

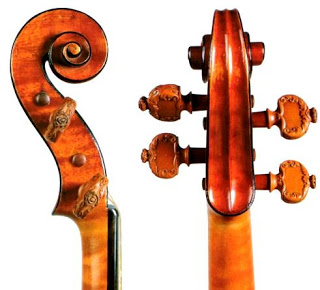
The inspiration is the scroll of Stradivari’s masterpiece, the Messiah.

Now to get some red varnish on this fiddle!

The Ground – Second Coat

2 Comments

The first ground coat did not dry properly, and I blame the honey in the ground mixture. Should have re-read the “directions” all the way through and I would have re-discovered that the sugars used must be hard at room temperature – liquid honey will never dry. Live and learn. A gentle rub with a damp, lint-free towel removed the sticky and we were good to go.

A new batch of sugar seal was mixed up and brought to a rolling boil – 1/2 cup tap water, 1/3 cup brown sugar, two tea bags and a tsp of powdered red tea, just to see what would happen. The mixture was strained through a cloth and applied (after a cooling period) with a foam brush.

The results? Pretty good, IMHO –

The second ground coat dried very fast, within half an hour or so, much as I remembered the Six Foot Fiddle ground coats.

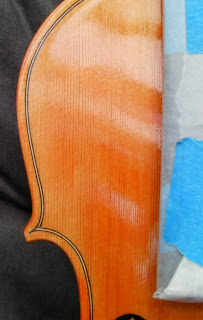
Both of the photos above are a bit darker than Real Life, but the shade is pretty close. Here’s a close-up of the ribs that is much closer to reality –

My camera doesn’t quite capture the shine and contrast of the grain. Overall I am very happy with the finish so far. On to the shellac!

The Ground – First Coat

7 Comments

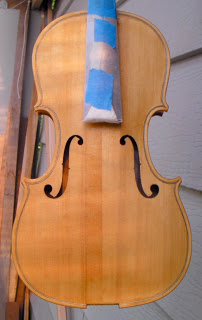
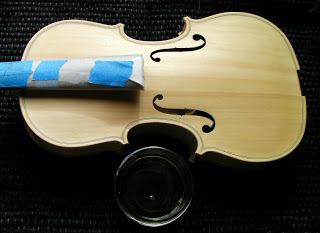
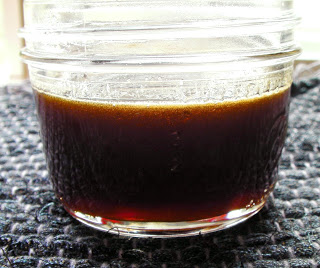
As with the Six Foot Fiddle, the Red Fiddle will have a sugar seal as the ground coat. Why? Well, it’s non-toxic, easy to apply and makes the wood grain “pop” in a most satisfactory way. Learning from the mistakes of last time, the ground formula for this fiddle is 1/2 cup tap water, 1/3 cup light brown sugar, 2 tsp honey and two black tea bags, simmered on the stove for an hour or so.Here she is in the white (note how dark the ground mixture is – you almost can’t even see it on the dark rug) –

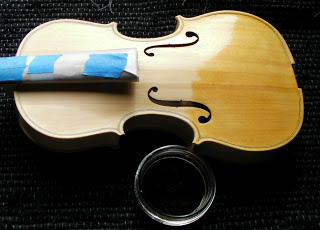
And here she is in process –

What a difference, eh? The black tea was added in the hope that it would darken the surface overall with a slight reddish tint. Pretty close! The sugar seal is brushed on while still warm with a foam brush. The mixture is quite thin and goes on very evenly with little effort. Here you can see how dark the mixture is –

Held up to the light it has a reddish tint, whereas the ground for the SFF was much more brown. Final results after one coat –

The picture makes the belly look streaky, but it’s really quite even with the dark grain lines popping –

I’ve elected to varnish with the fingerboard on (as some people believe the Masters did) simply because the fingerboard is very nicely fitted and is glued on very well – why make more work if you don’t have to, right? It’s easy enough to get a small brush under the FB, so it should work out just fine.